Bailees Red Bead Cased Caddis
Imitates: Horn cased caddis (common in NZ freestone rivers)
Style: Euro nymph / anchor fly
Materials
Hook: Curved nymph/scud hook (size 12–16)
Bead: Red tungsten bead (slotted or standard to suit hook)
Thread: Black 8/0 or 70D
Body: Black thread base
Rib/Case: Brown/tan vinyl rib or similar (UTC vinyl rib, micro tubing, or scud back cut thin)
Dark Hares Ear
Black CDC Feather
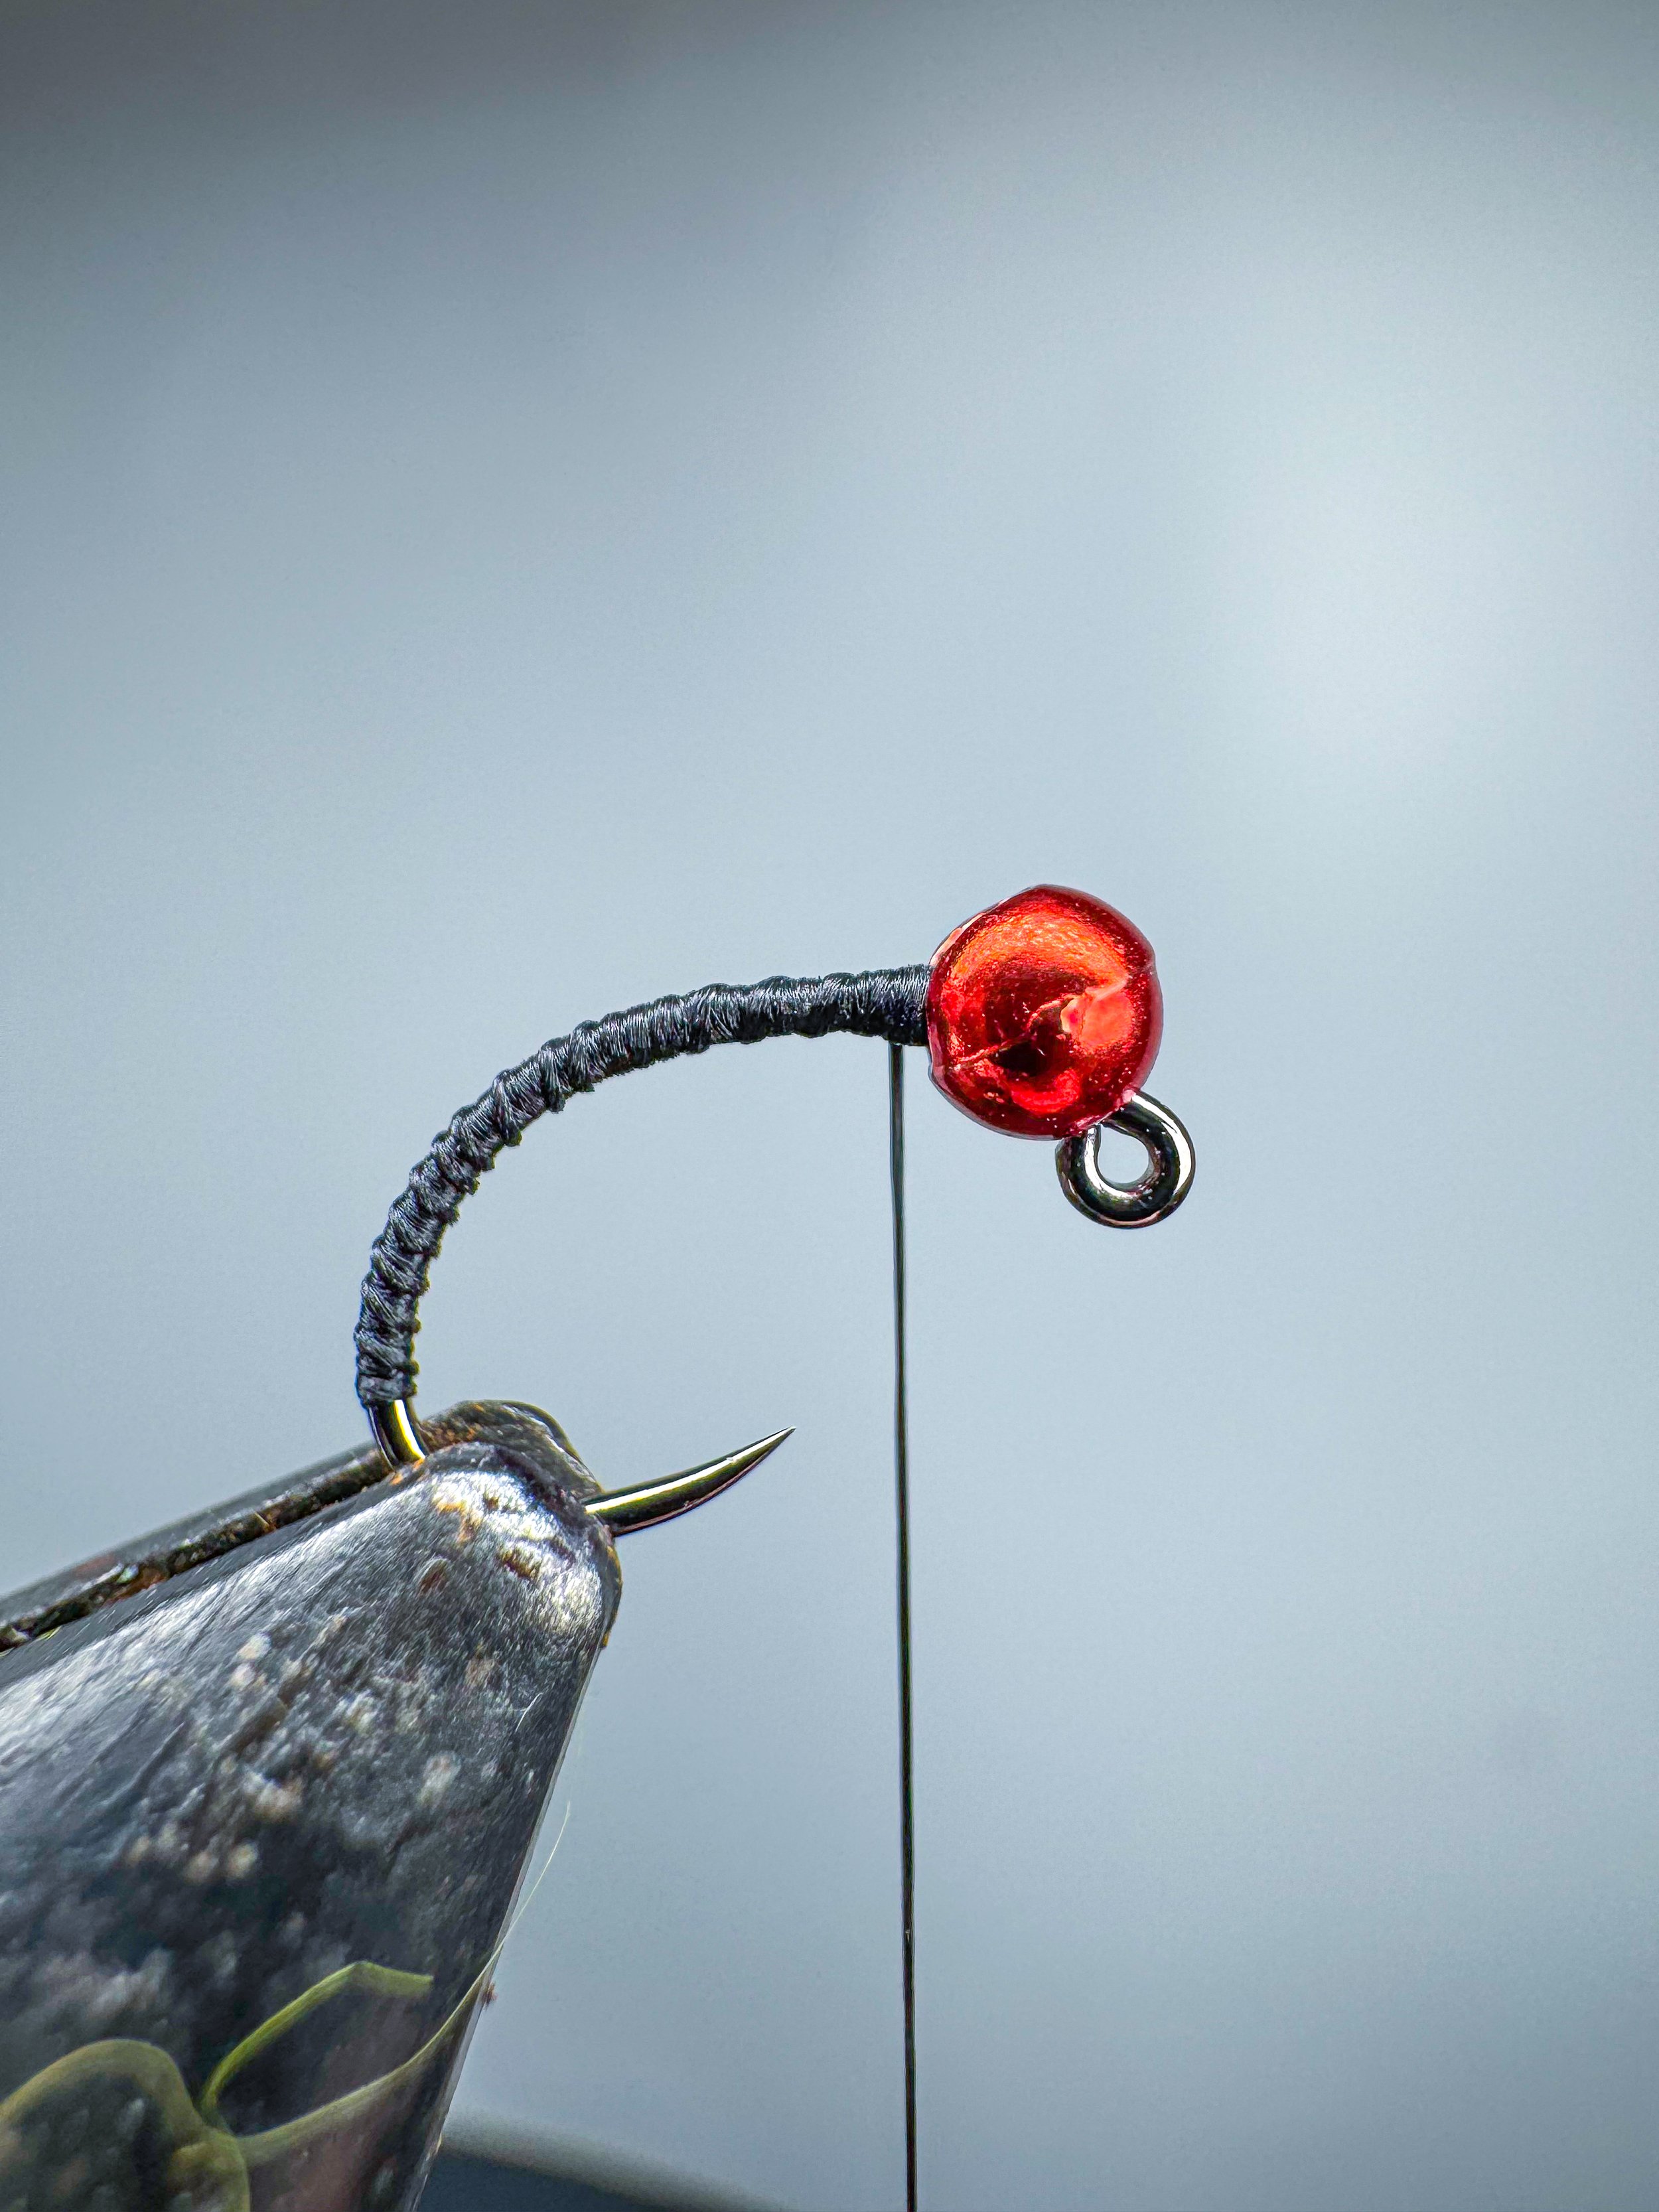
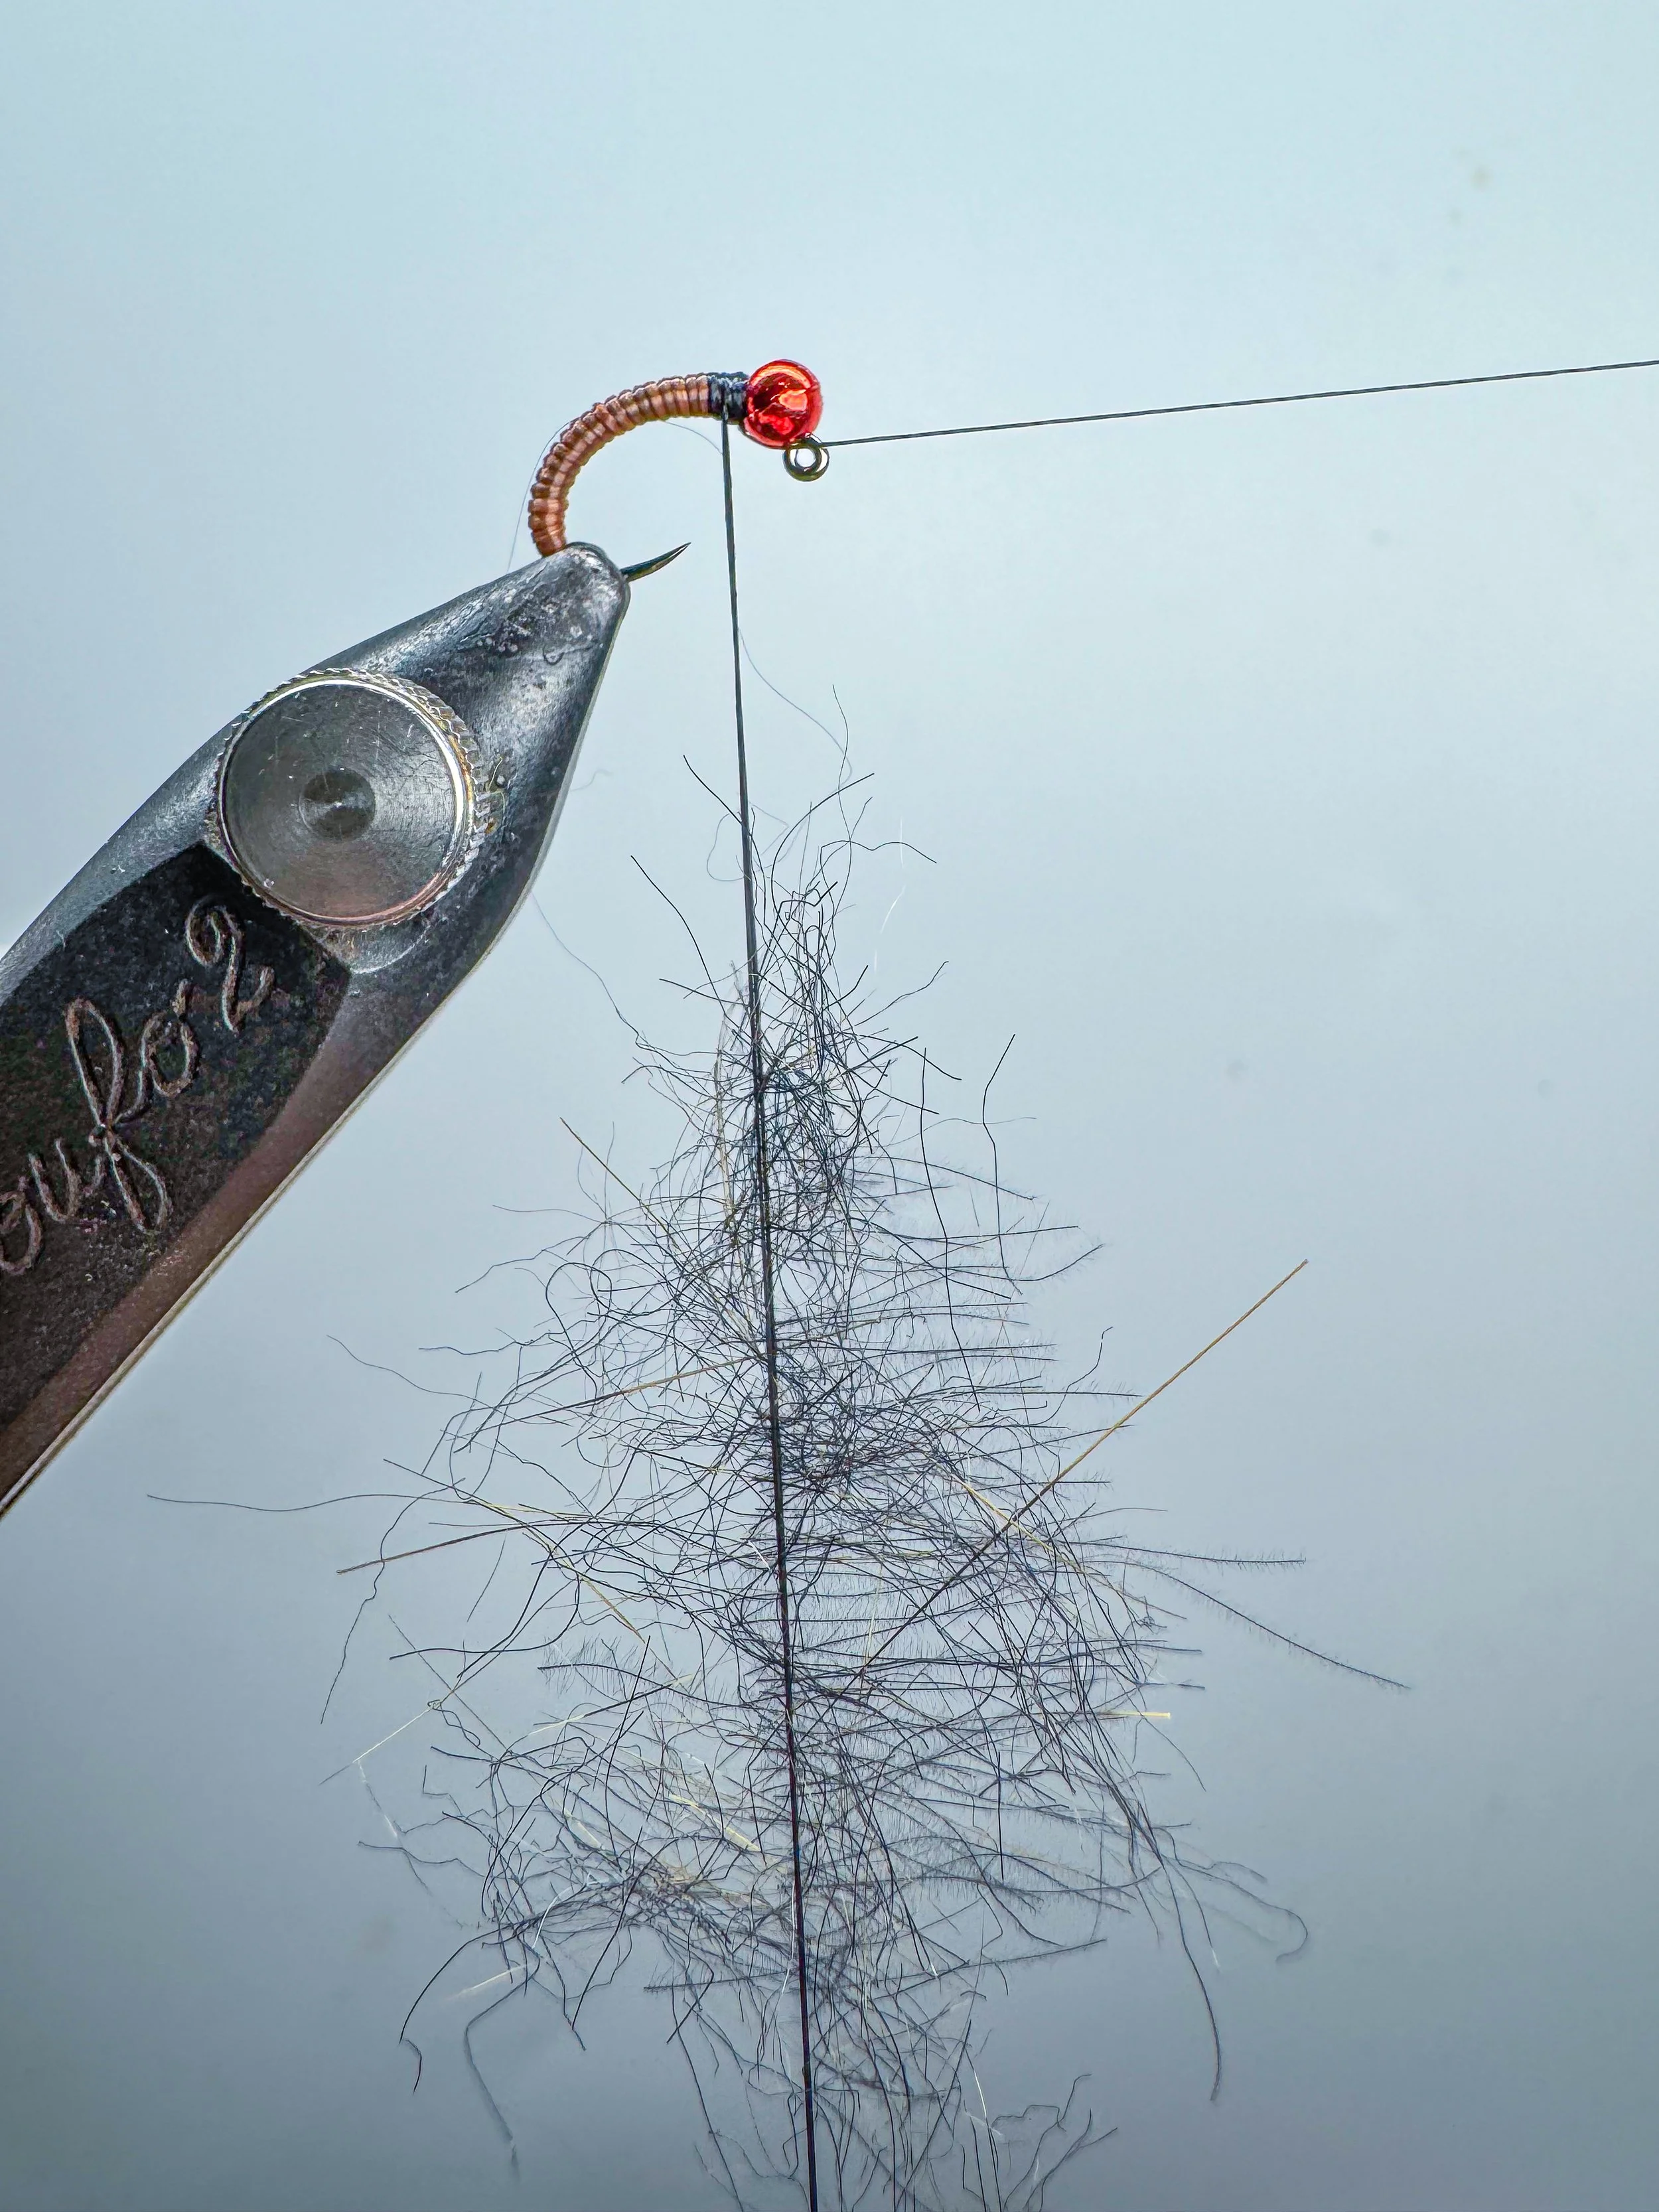
Step 1 – Bead & Thread Base
Start by sliding your red tungsten bead onto the hook and seating it firmly at the eye.
Attach your black thread just behind the bead and lay down a smooth thread base all the way to the bend.
Tip:
Keep this base tight and even. Any lumps will show through the ribbing later and ruin that segmented “cased” look.
Step 2 – Build the Underbody
Wrap your thread forward and back to create a slightly tapered underbody—thicker toward the bead, slimmer at the tail.
Why it matters:
Horn cased caddis have a natural taper. This step controls the final profile more than anything else.
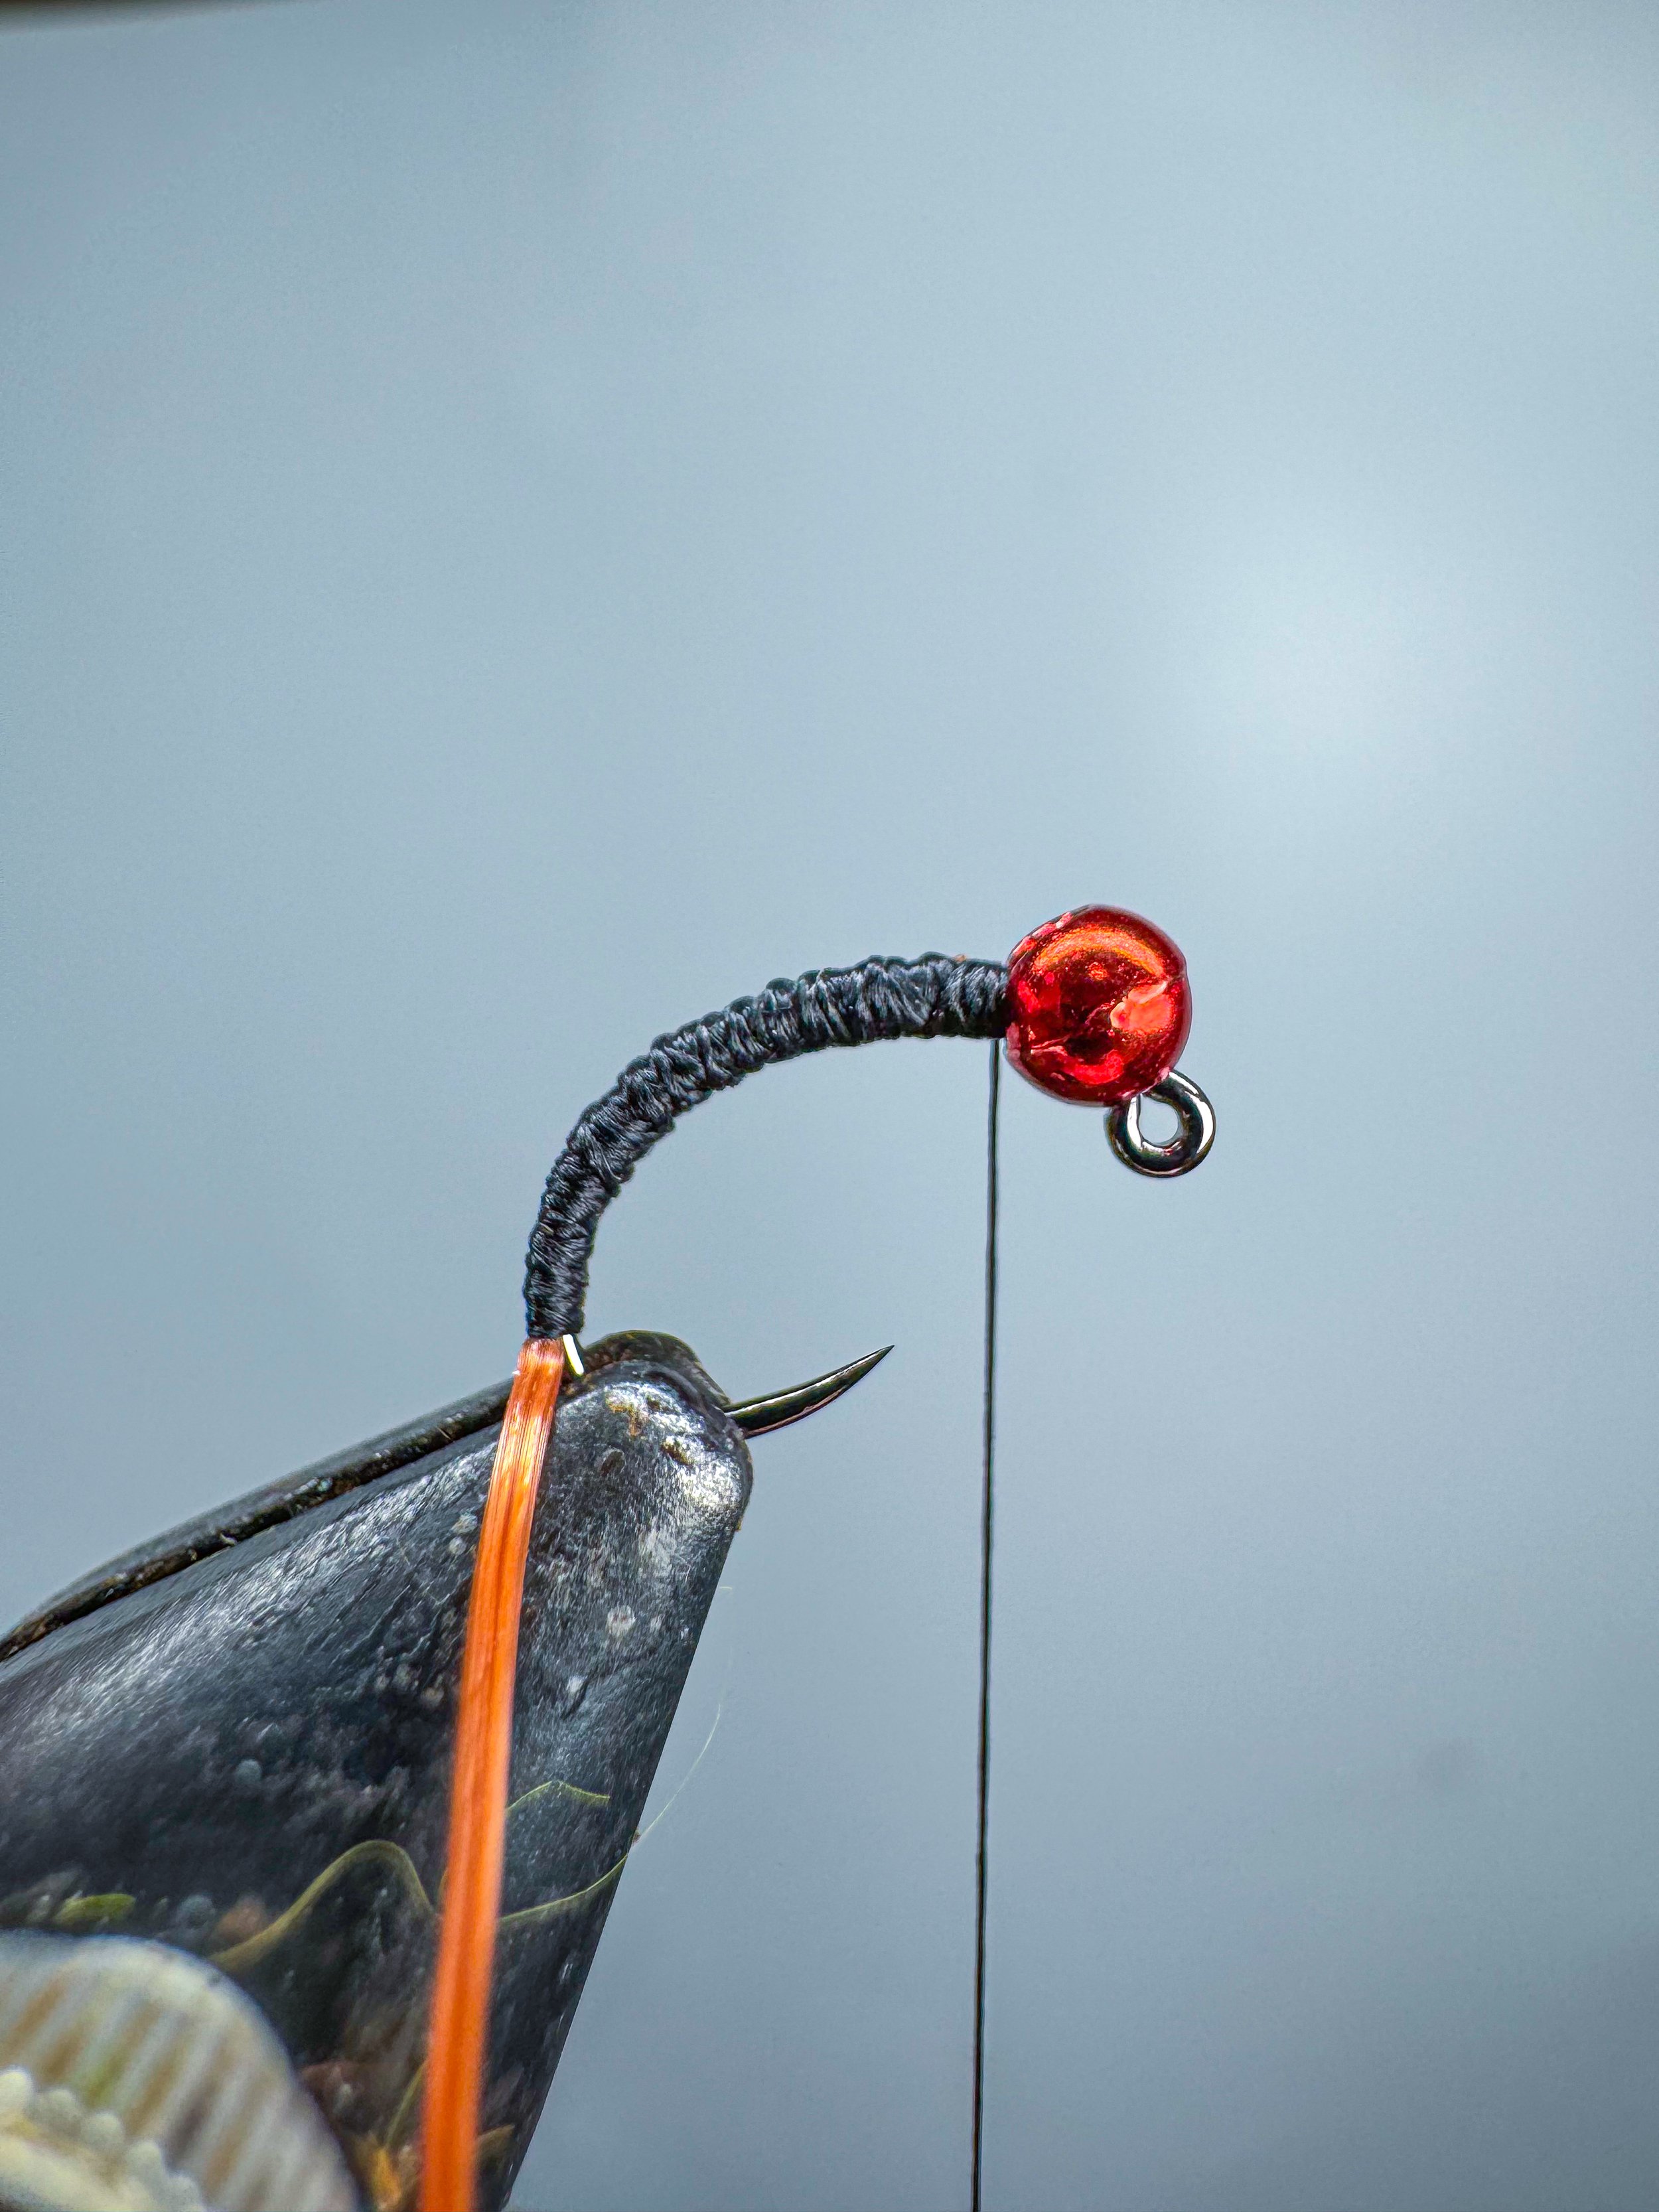
Step 3 – Tie in the Rib (Case Material)
Tie in your brown/tan ribbing material at the bend of the hook.
Keep it aligned on the near side or underside of the hook to avoid bulk.
Tip:
If using thicker vinyl rib, stretch it slightly as you tie it in—this reduces bulk at the tie-in point.
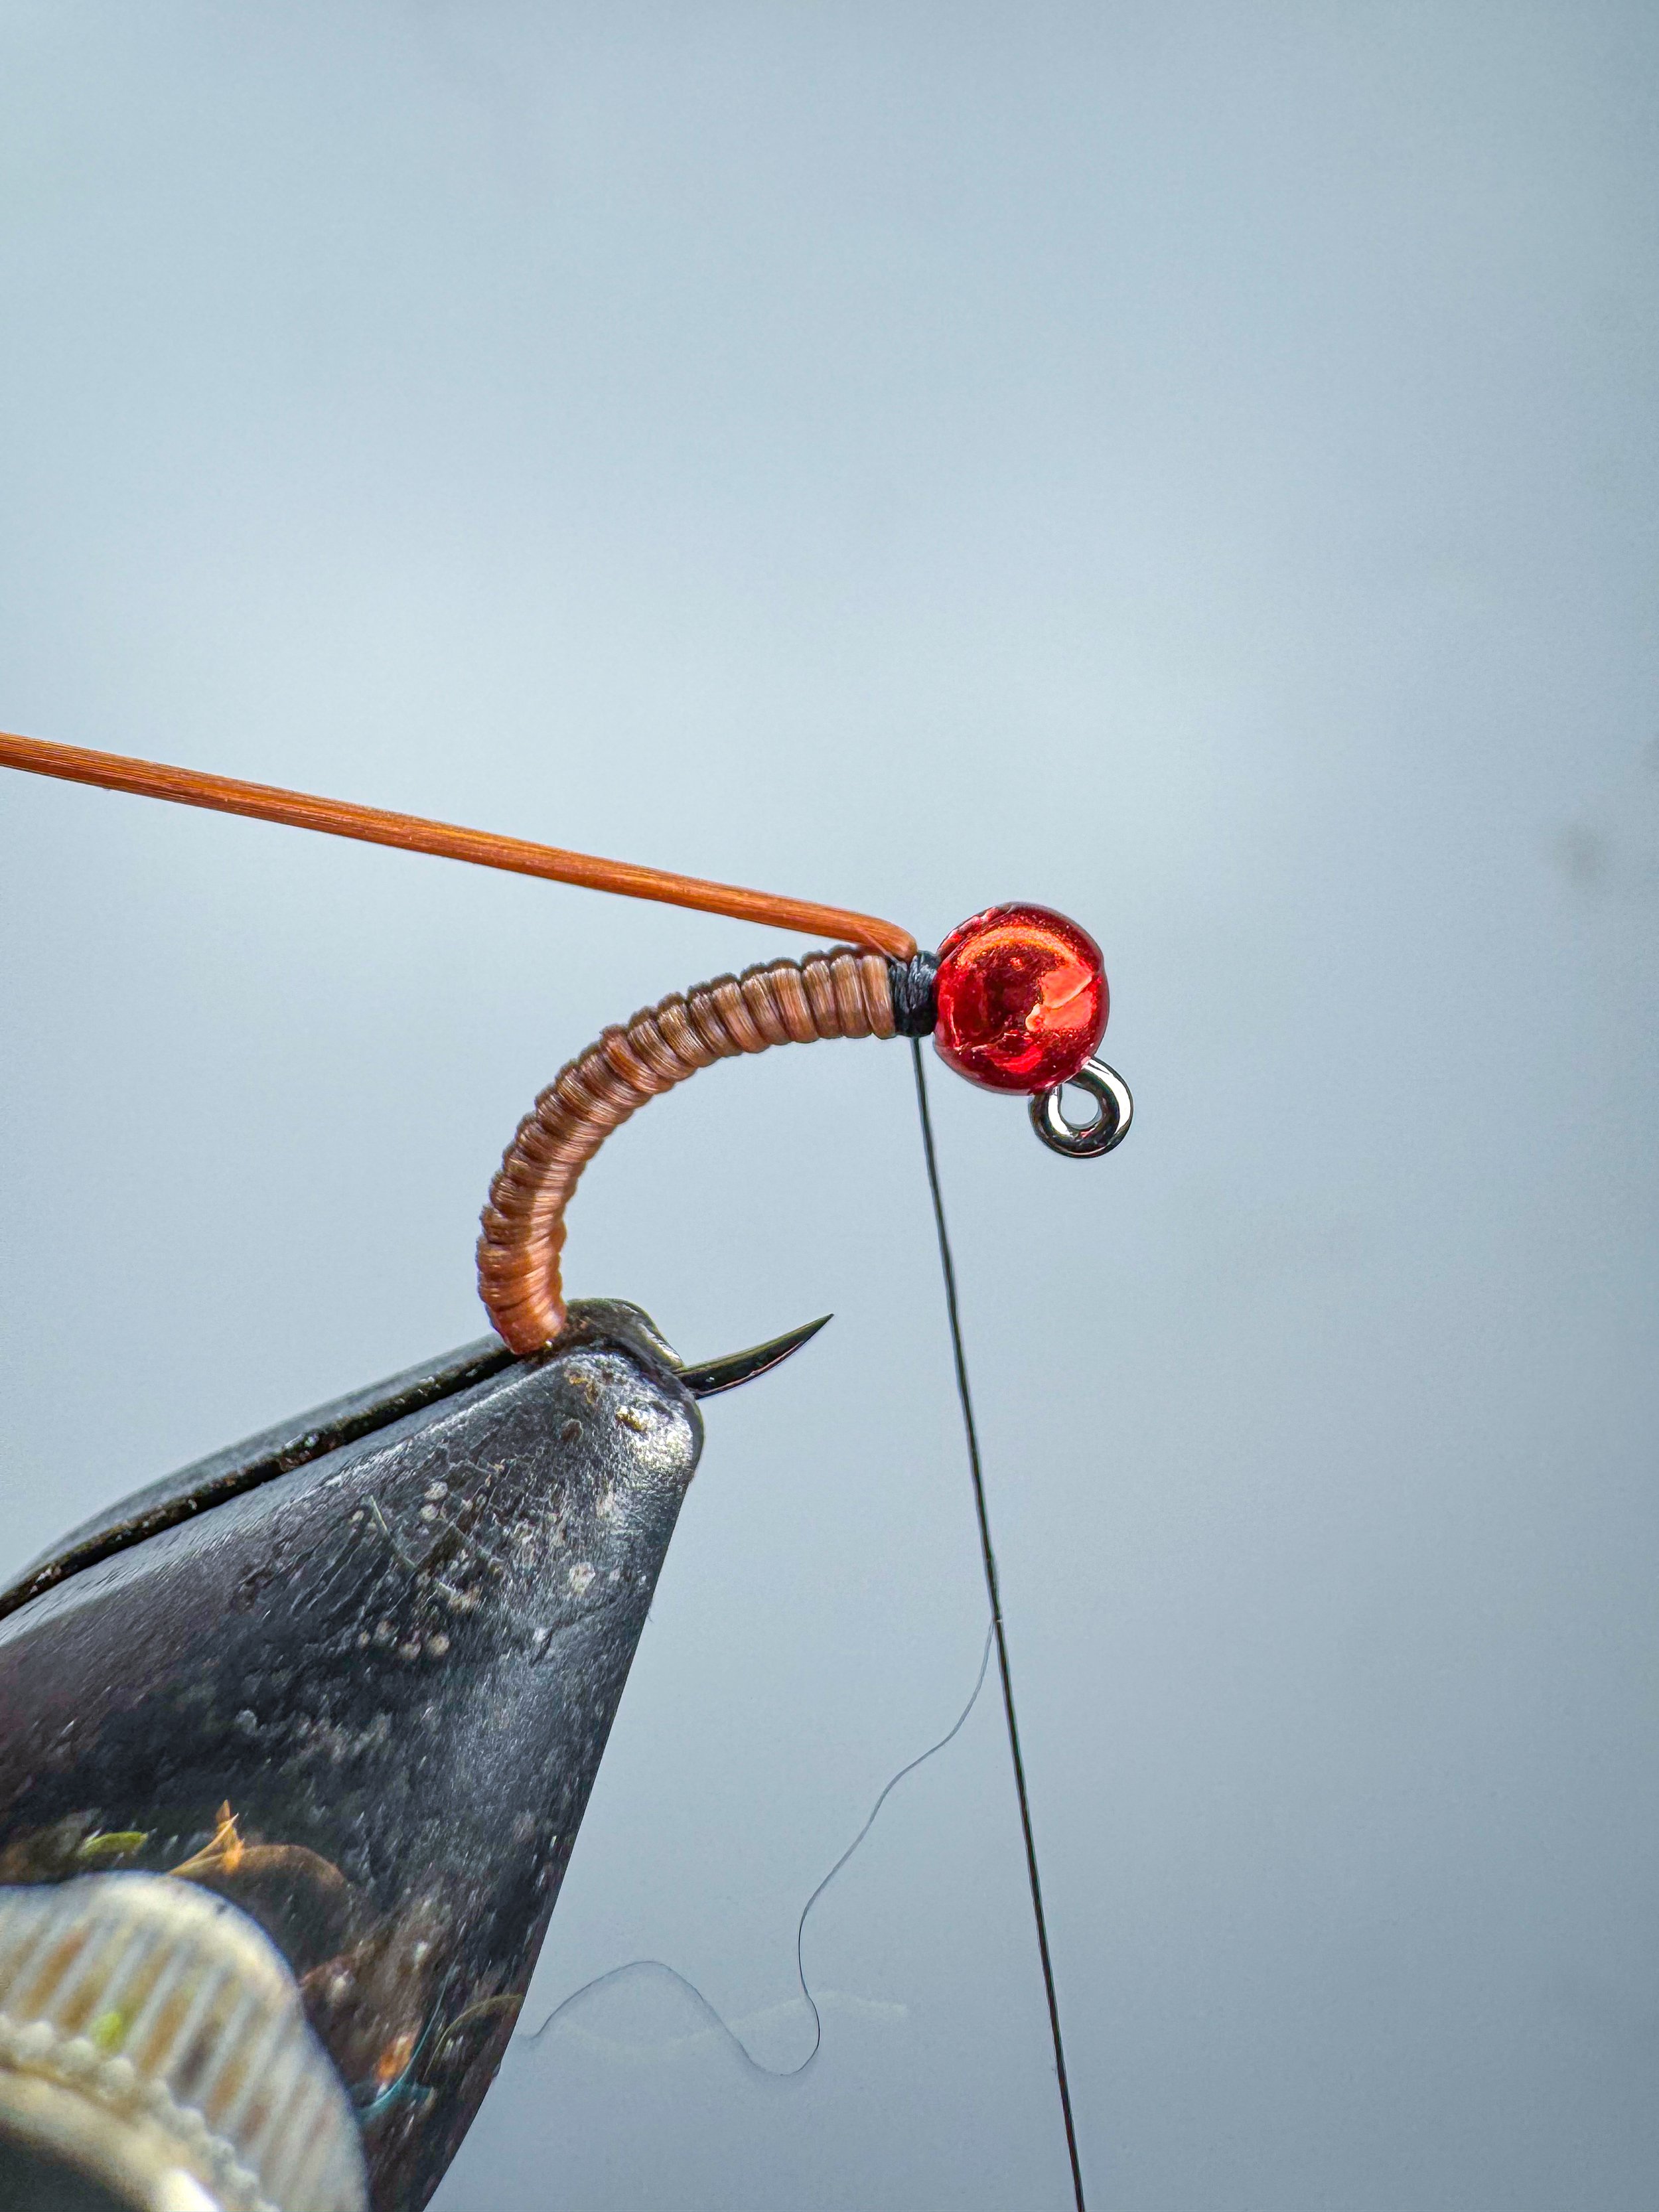
Wrap the rib forward in tight, evenly spaced turns to create a segmented “case” look.
Each wrap should sit snug against the previous one.
Secure it just behind the bead with firm thread wraps.
Key detail:
Consistent spacing = realism. Uneven wraps kill the natural look.
Step 4 – Create the Cased Body (Dubbing Loop Method)
Create a dubbing loop with your tying thread.
Add a dark-coloured dubbing (black, dark brown, or charcoal works well) into the loop, then lay a single side of a CDC feather over the dubbing before spinning.
Tip Don’t overfill the loop—less is more for a natural, buggy look
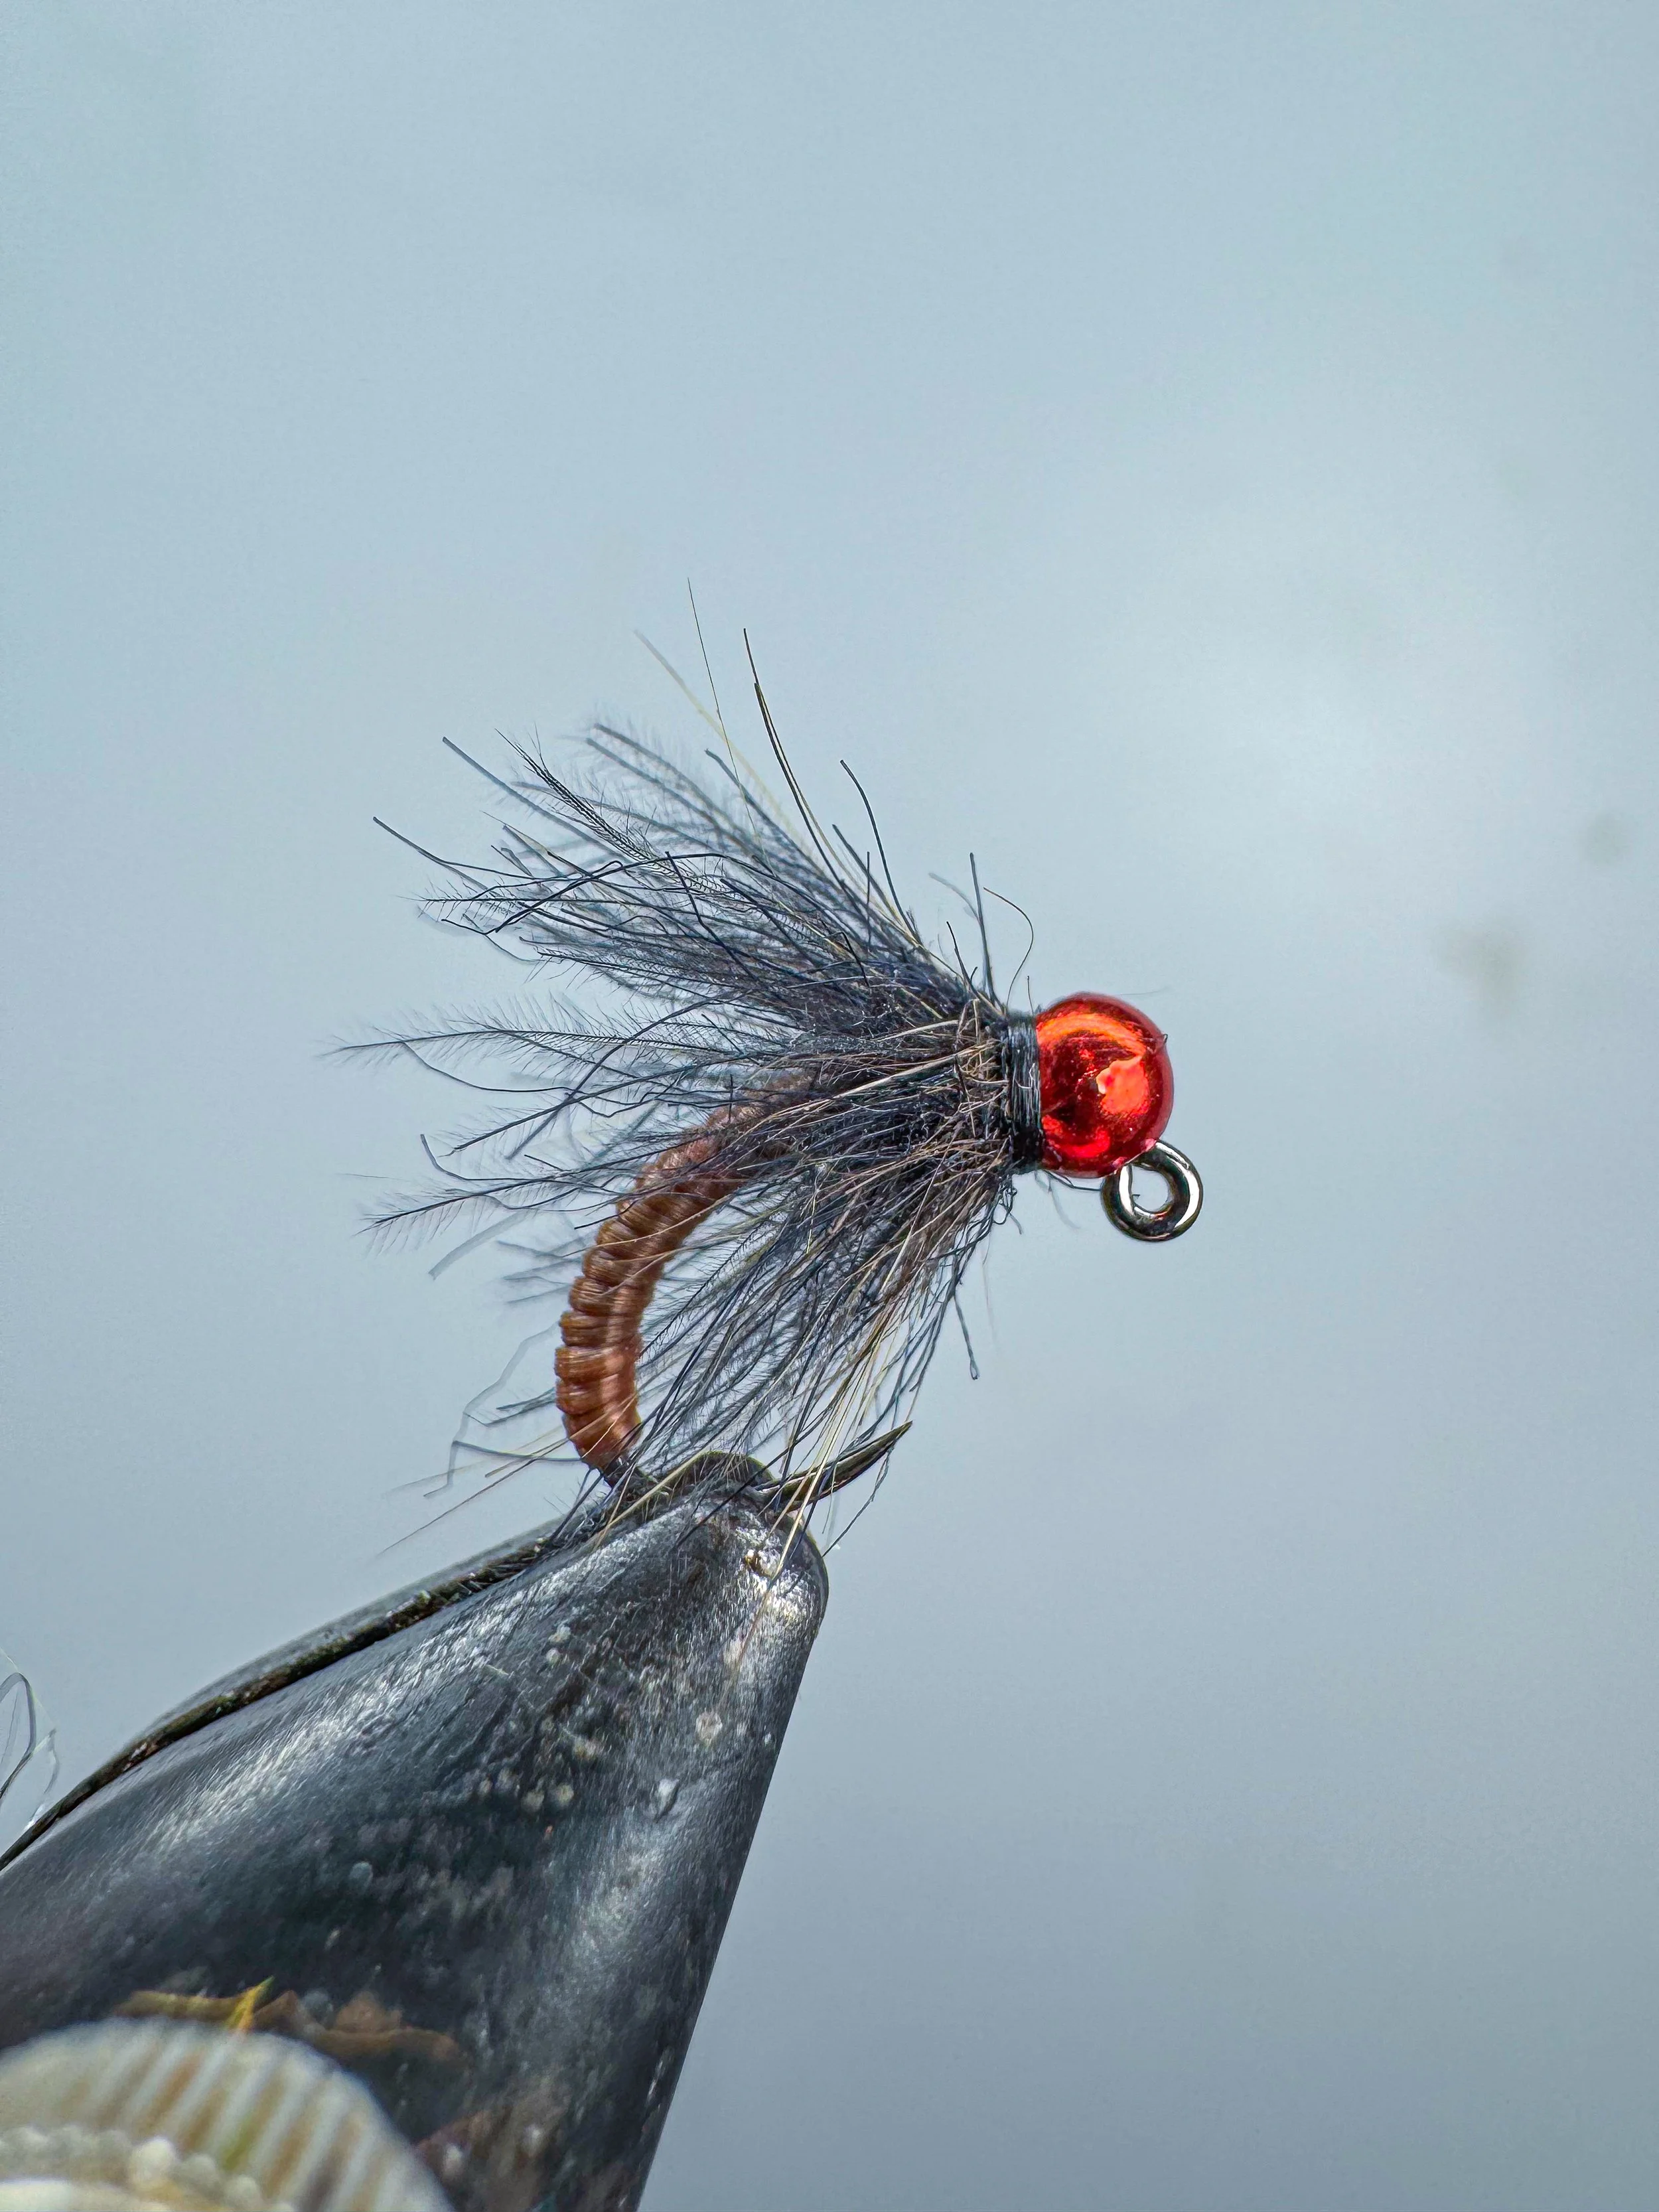
Step 5 – Wrap the Body
Spin the dubbing loop tightly to create a spiky, textured rope, with CDC fibres trapped while still protruding to give a natural, lifelike movement.
Wrap the loop forward in tight, touching turns, building a slightly tapered body that thickens toward the bead.
Once you reach the bead, secure the loop with firm thread wraps and trim the excess.
Tips:
Maintain consistent tension while wrapping to avoid gaps
If it looks too bulky, you’ve likely added too much dubbing—aim for sparse
A quick brush-out after tying helps release more CDC fibres for added movement
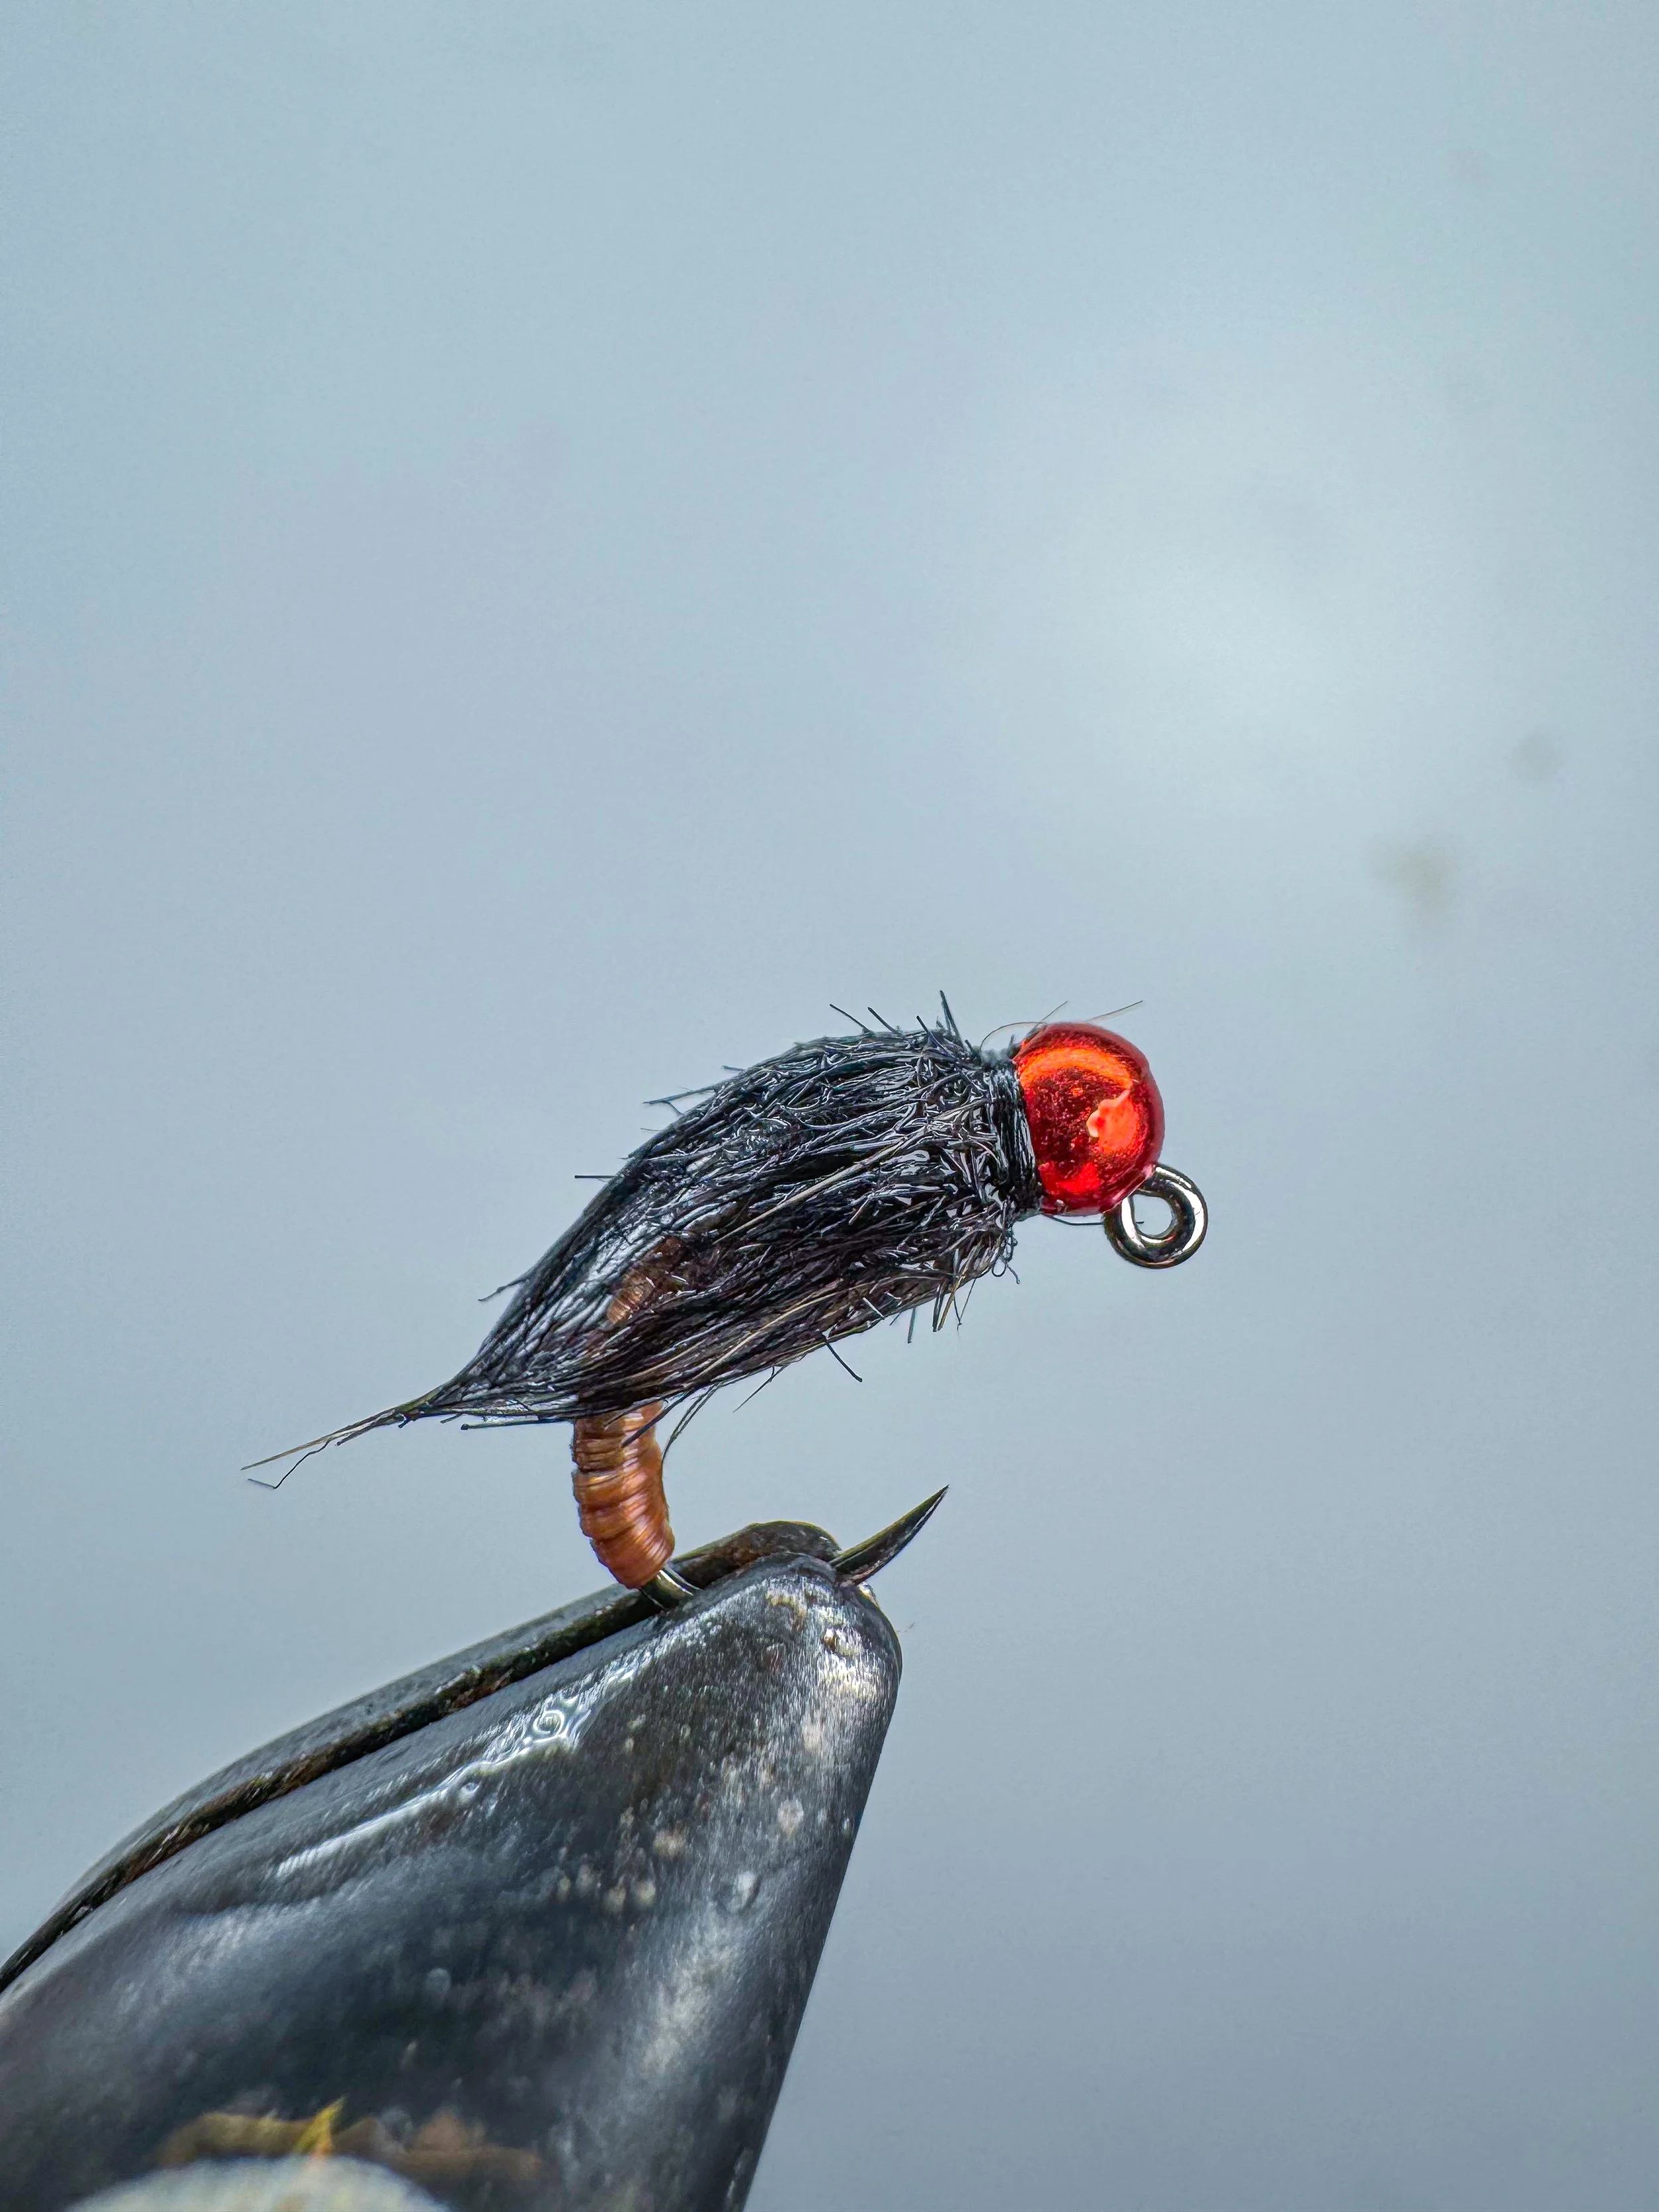
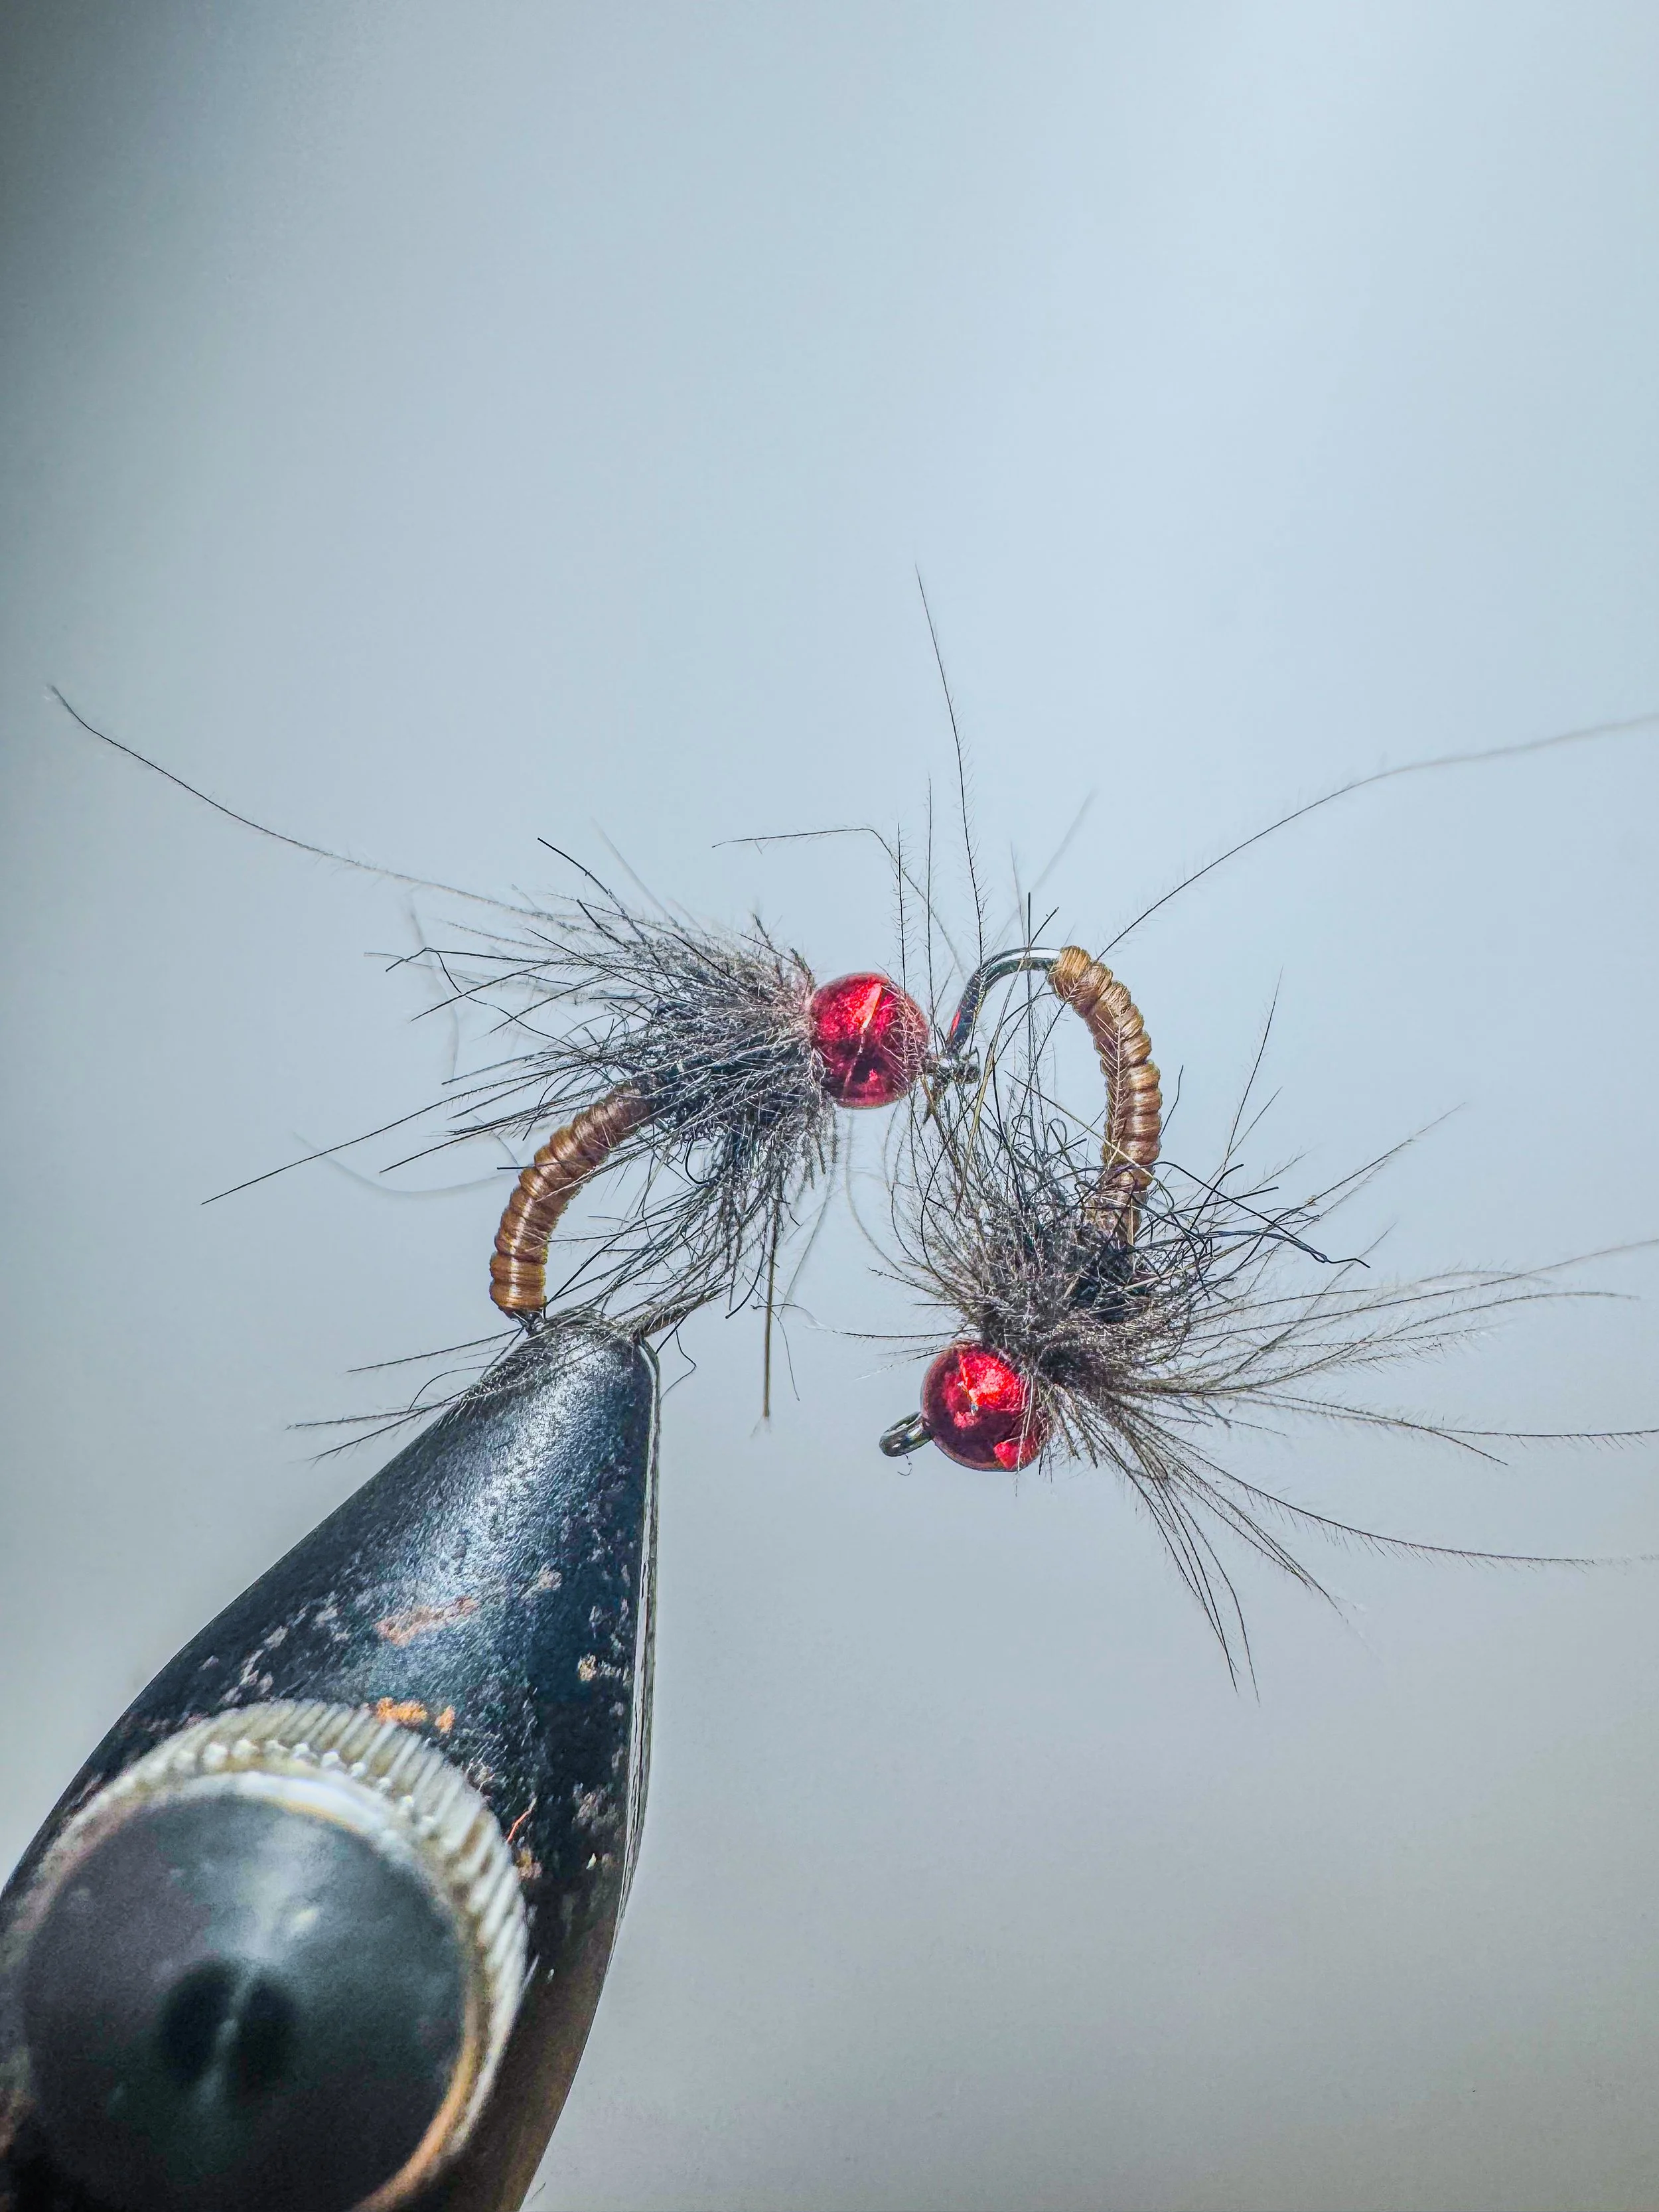
The End Result after the fly has been wet